Scilab 6.1.1/2023.0.0 Installation on Ubuntu 22.04
Supplemented on April 30, 2023
Those who want to use the math software Scilab on Ubuntu or its derivatives fail when installing Scilab via package management. It does not often work as expected. This how-to describes how to install Scilab system-wide on Ubuntu Linux.
You can also apply this how-to to Ubuntu derivatives and, with minor modifications, to other GNU/Linux distributions. It is applicable on Scilab 2023.0.0, too.
Preparations
Many of the tasks in this how-to can also be used with graphical applications of the corresponding desktops. Because of the universality I used console commands here. These work the same under all desktops – in contrast to the different graphical applications of the specific desktops.
- If you have already installed Scilab via APT package management, uninstall it:
sudo apt remove scilab
For other package managers of other distributions, adapt the command accordingly.
- Download Scilab from scilab.org. The current version in June 2022 is Scilab 6.1.1.
Installation
We want to install Scilab system-wide for all users of the machine. We will store the program files in /opt and install the start files in the local-tree in /usr.
- First we extract the downloaded tar archive in
/opt: If the archive is in your download directory and if you downloaded version 6.1.1, type the following lines in the terminal:cd /opt sudo tar -xvzf "~/Downloads/scilab-6.1.1.bin.linux-x86_64.tar.gz"
- Because Scilab needs
libtinfo.so.5, we install it via:sudo apt install libncurses5
If you don’t use Ubuntu or one of its derivatives, you have to find the package in your package manager that contains the library. Otherwise you can use this how-to for other distributions as well.
- To quickly start Scilab by command (ALT-F2) or terminal, we create a symbolic link of the startup scripts in:
/usr/local/bin:sudo ln -s /opt/scilab-6.1.1/bin/scilab /usr/local/bin/ sudo ln -s /opt/scilab-6.1.1/bin/scilab-cli /usr/local/bin/ sudo ln -s /opt/scilab-6.1.1/bin/scilab-adv-cli /usr/local/bin/
Now the GUI program can be started with
scilaband the terminal versions withscilab-cliorscilab-adv-clifrom any directory.
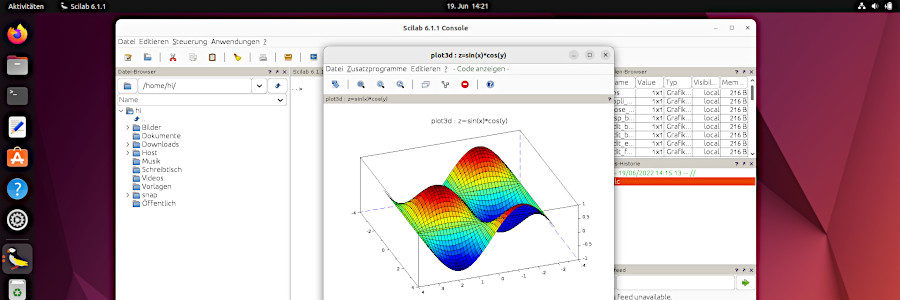
Scilab 6.1.1 in Ubuntu
- In order to start Scilab via icon in the program menu, however, the following steps are necessary:
- We have to create the directory
applicationsin/usr/local/share/:sudo mkdir /usr/local/share/applications
- Here, we create the program starter file
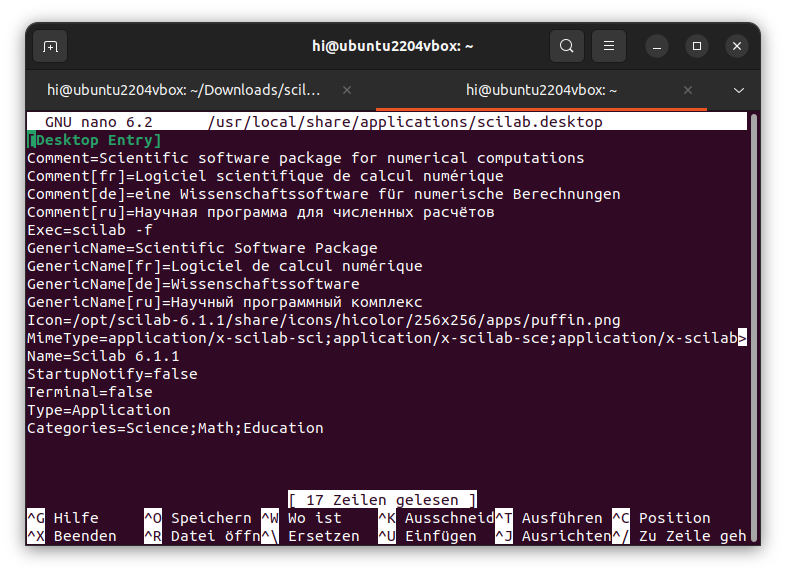
scilab.desktop:sudo nano /usr/local/share/applications/scilab.desktop
- In this file we copy & paste the following content:
[Desktop Entry]
Comment=Scientific software package for numerical computations
Comment[fr]=Logiciel scientifique de calcul numérique
Comment[de]=eine Wissenschaftssoftware für numerische Berechnungen
Exec=scilab -f
GenericName=Scientific Software Package
GenericName[fr]=Logiciel de calcul numérique
GenericName[de]=Wissenschaftssoftware
Icon=/opt/scilab-6.1.1/share/icons/hicolor/256x256/apps/puffin.png
MimeType=application/x-scilab-sci;application/x-scilab-sce;application/x-scilab-tst;application/x-scilab-dem;application/x-scilab-sod;application/x-scilab-xcos;application/x-scilab-zcos;application/x-scilab-bin;application/x-scilab-cosf;application/x-scilab-cos;
Name=Scilab 6.1.1
StartupNotify=false
Terminal=false
Type=Application
Categories=Science;Math;Education
- Now we save the file using CTRL-o and exit Nano by pressing CTRL-x.
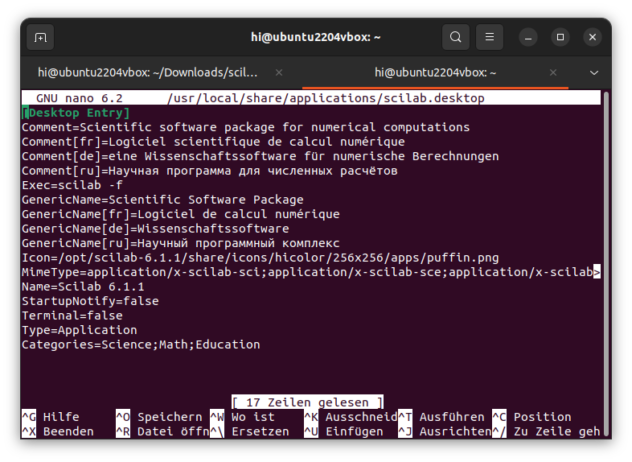
scilab.desktop in nano
- We have to create the directory
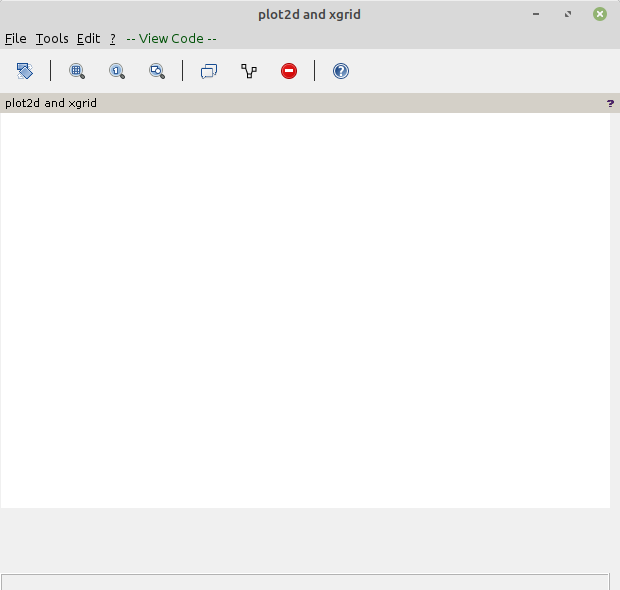
- Scilab should now appear as an icon in the program menu. If this is not the case, some paths are not correct. Double check.

Scilab-Starter


Troubleshooting
Empty graphic window
Empty graphic window on Scilab 6.1.1 or 2023.0.0 in Linux Mint 21.1
If Scilab does not plot and the graphics window remains empty, it helps in most cases to call Scilab in the terminal or program starter as follows:
MESA_GL_VERSION_OVERRIDE=3.0 scilab
For this you can:
- Change the 5th line of the file scilab.desktop (see above) from
Exec=scilab -f
to
Exec=MESA_GL_VERSION_OVERRIDE=3.0 scilab -f
Note: If you want to call Scilab and its CLI versions from the command line you have to follow the 2nd approch below.
OR - Create another script, then you don’t need to change the scilab.desktop file, because it will be called automatically.
- If necessary delete old scripts links, if you had already created them above. In the terminal:
sudo rm /usr/local/bin/scilab
sudo rm /usr/local/bin/scilab-adv-cli
scilab-cli is not affected.
- Create new scripts:
sudo nano /usr/local/bin/scilab
- Write or copy the following content into it:
#!/bin/bash
MESA_GL_VERSION_OVERRIDE=3.0 /opt/scilab-6.1.1/bin/scilab
Press CTRL-O to save and CTRL-X to quit.
- Make the script executable:
sudo chmod +x /usr/local/bin/scilab
- Do the same for scilab-adv-cli:
sudo nano /usr/local/bin/scilab-adv-cli
fill in:
#!/bin/bash
MESA_GL_VERSION_OVERRIDE=3.0 /opt/scilab-6.1.1/bin/scilab-adv-cli
Press CTRL-O to save and CTRL-X to quit, then make it executable with:
sudo chmod +x /usr/local/bin/scilab-adv-cli
- If necessary delete old scripts links, if you had already created them above. In the terminal:
Thanks to Makerten and his comment. More information can be found about the problem at ResearchGate.